
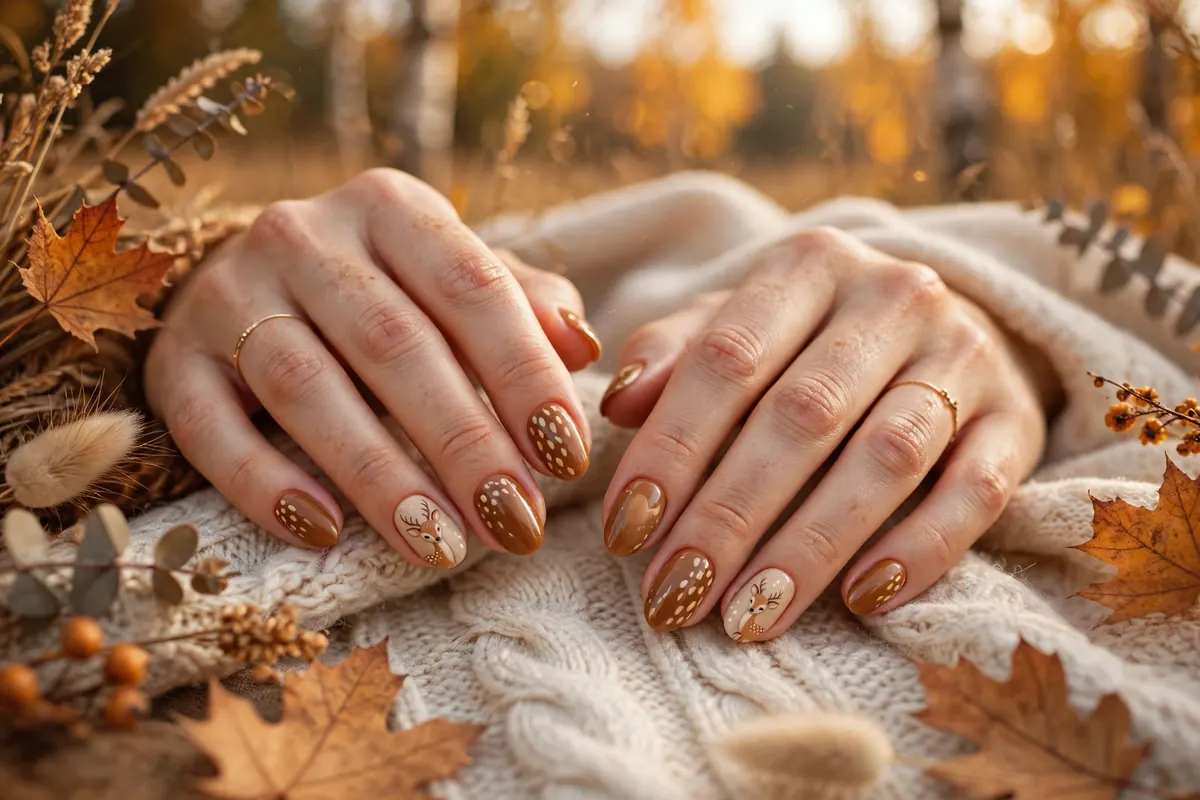
If your feed has been flooded with the cutest spotted manicures lately, you’re not imagining it. Bambi nails — also called fawn nails or deer print nails — are officially the breakout nail trend of fall 2026, and honestly, we completely get the obsession. Inspired by the soft, dappled markings of a baby deer, these Bambi nail designs layer warm caramel, toffee, and nude tones with delicate cream or white spots for an animal print that feels playful instead of fierce.
Unlike leopard or cow print, Bambi nail designs are soft, wearable, and quietly elegant. They work on short natural nails, they pair with literally every fall outfit you own, and they photograph like a dream. Whether you’re booking a salon appointment or doing them at home with a dotting tool, here are 12 Bambi nail designs worth trying this season.
1. Classic Caramel Bambi
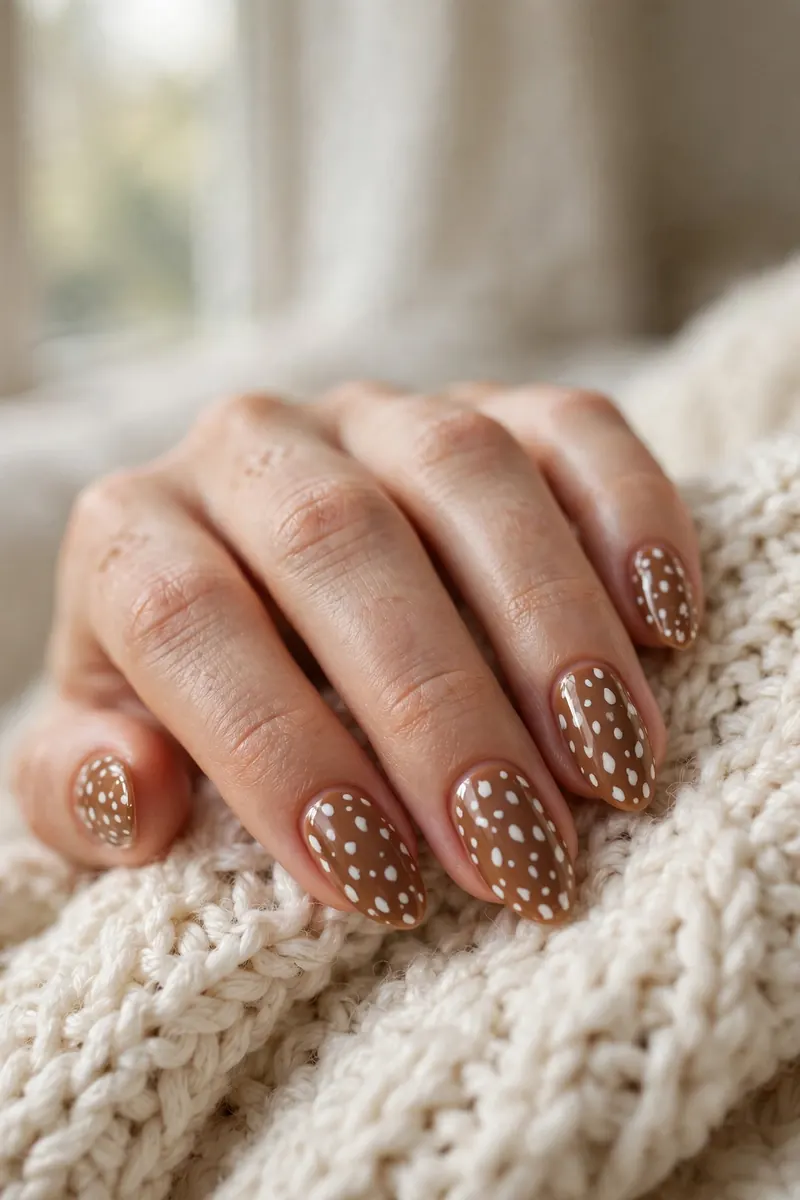
This is the look that started it all. A warm caramel base — think OPI’s “Samoan Sand” or Essie’s “Clothing Optional” — covered in irregular cream spots of different sizes. The trick is keeping the spots imperfect: real fawn markings aren’t uniform, so vary your dot sizes and don’t overthink the placement. Finish with a high-gloss top coat and you’ve got the quintessential Bambi nail design that carries you from September straight through November. For extra dimension, layer deeper caramel at the cuticle before spotting — the gradient makes dots look hand-painted, not stamped.
2. Short Square Fawn Tips
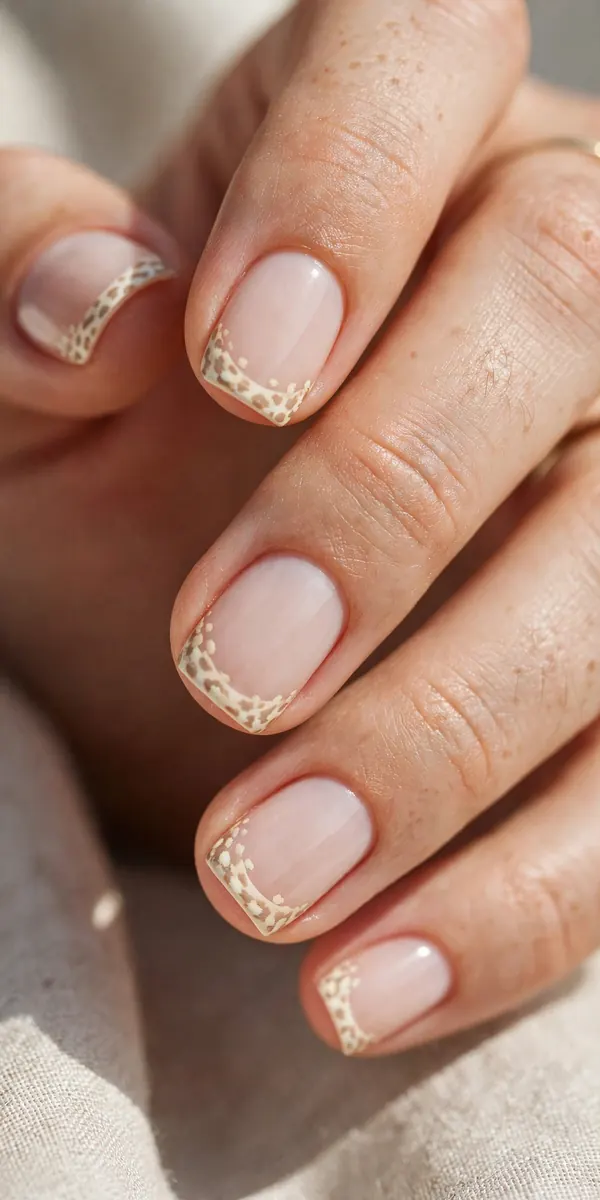
Short nails are leading every fall 2026 trend report, and Bambi print looks incredible on a neat, short square shape. Keep the base a sheer milky nude and concentrate the spots toward the tips, almost like a spotted French manicure. It’s subtle enough for the office but still very much on trend. Ask your tech for a “soft square” file — sharp corners chip faster once sweater weather hits. Seal the free edge with an extra swipe of top coat — short squares take the most abuse, and that one swipe buys three extra chip-free days.
3. Chocolate Bambi French
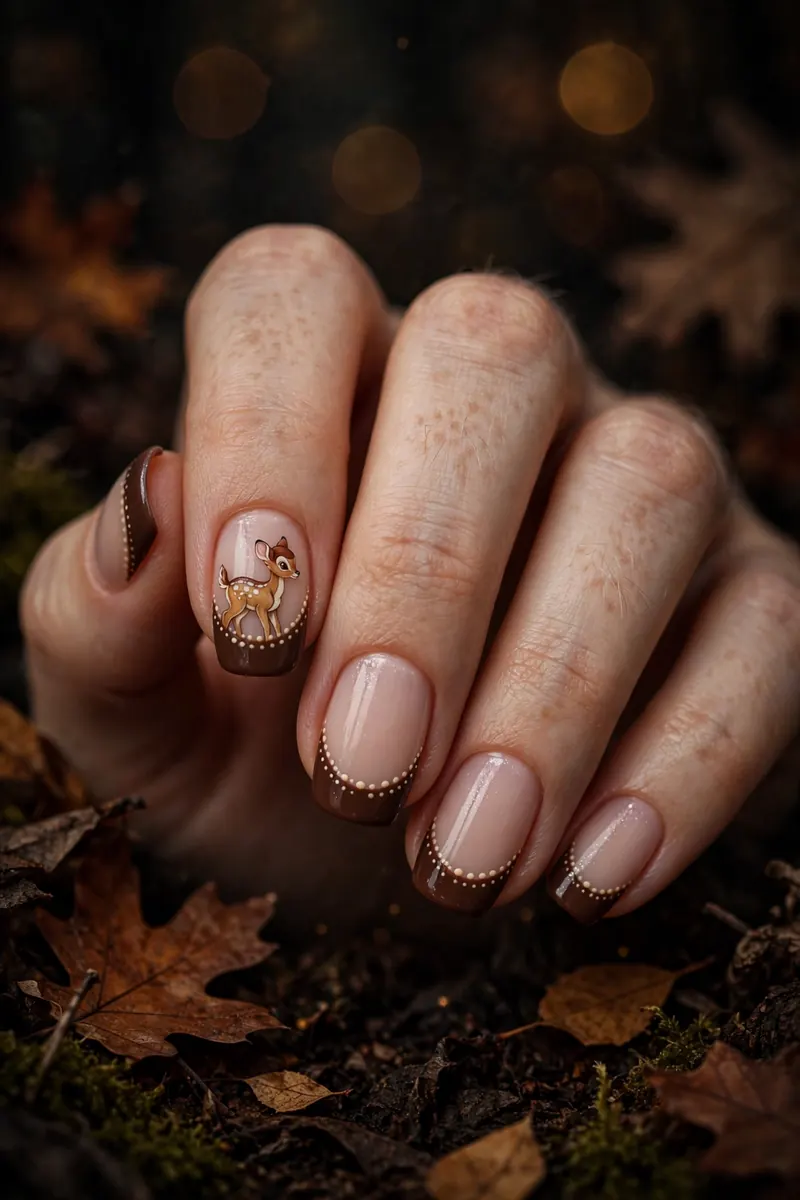
Take the classic French manicure and give it a woodland twist. Paint the tips in deep chocolate brown — Chanel’s “Particulière” or a drugstore dupe like Sally Hansen’s “Commander in Chic” — then dot tiny cream spots just along the smile line. The dark tips make the spots pop, and the whole thing reads rich and autumnal. This is one of our favorite Bambi nail designs for evening events and dinner dates. Keep the smile line shallow — a thin chocolate band reads modern; a thick one veers costume-y.
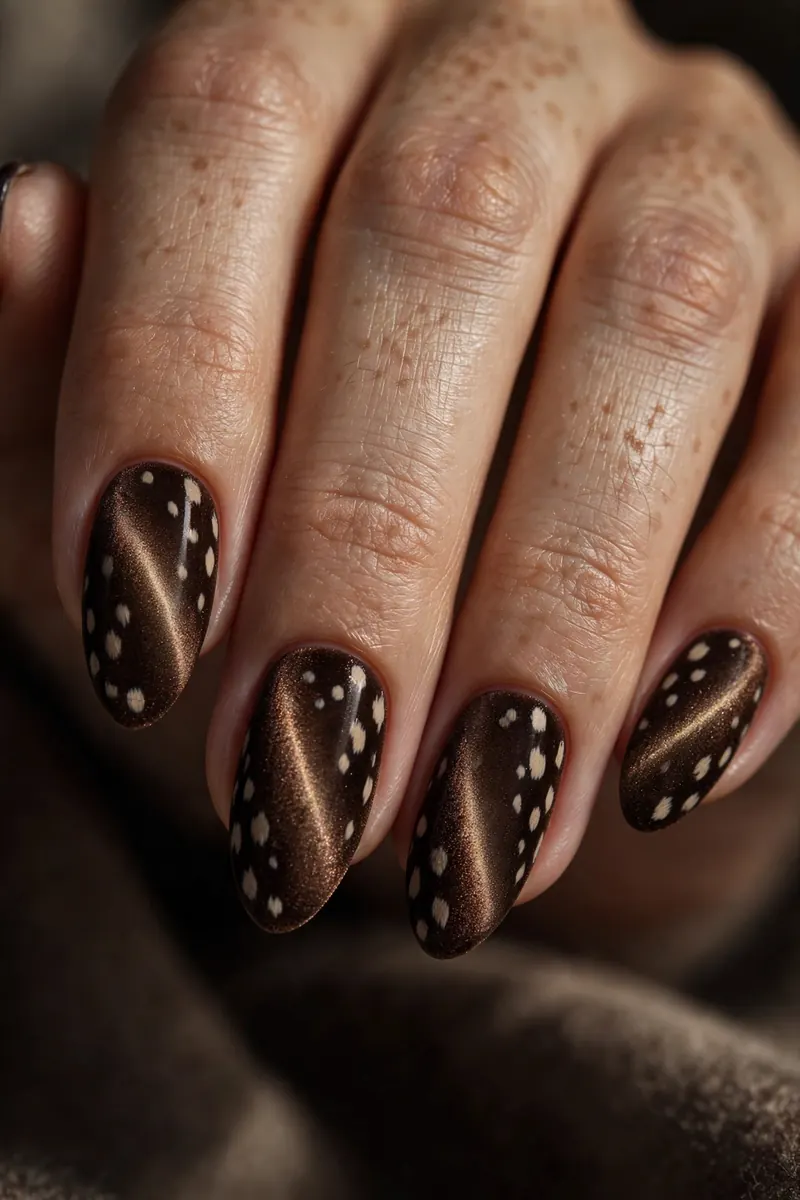
4. Velvet Cat Eye Bambi
Cat eye magnetic polish is having a massive moment this winter, and pairing it with Bambi spots is pure genius. Start with a brown magnetic polish, hold the magnet at an angle to create that velvety depth, cure, then add your spots in a lighter beige. The dimensional shimmer underneath makes the spots look like they’re glowing from within. It’s the most eye-catching version on this list — expect compliments from strangers. Work one nail at a time: magnetize, flash-cure ten seconds, then move on — if the polish levels first, you lose the velvet effect.
5. The Single Accent Nail
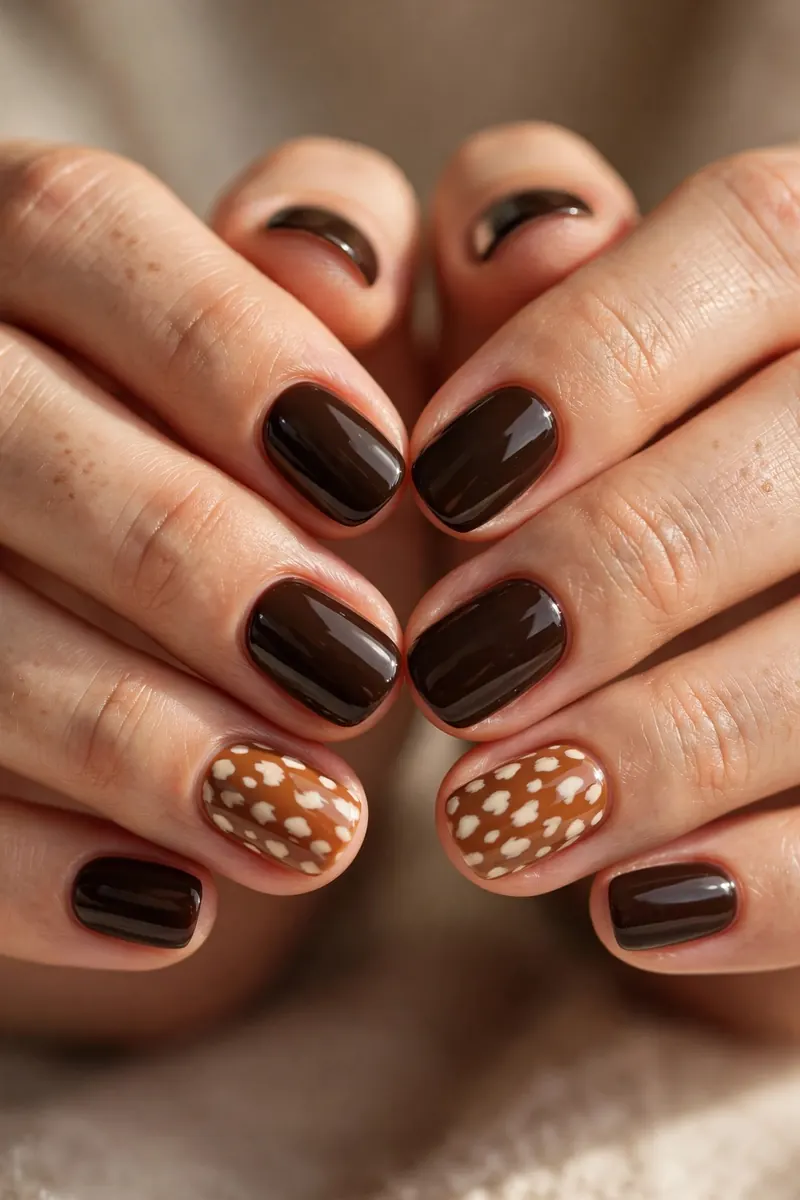
Not ready to commit all ten nails to the deer life? Do nine nails in glossy espresso or oxblood, then make one accent nail per hand full Bambi print. This is the perfect entry point if you love the trend but want something a little more understated. It also stretches your salon budget — accent nails take minutes, and most techs won’t charge extra for just two. Choose your ring fingers for the accent — they’re the most photographed in hand shots, so the Bambi detail gets maximum visibility in every flat-lay.
6. Nude Fawn Minimalism
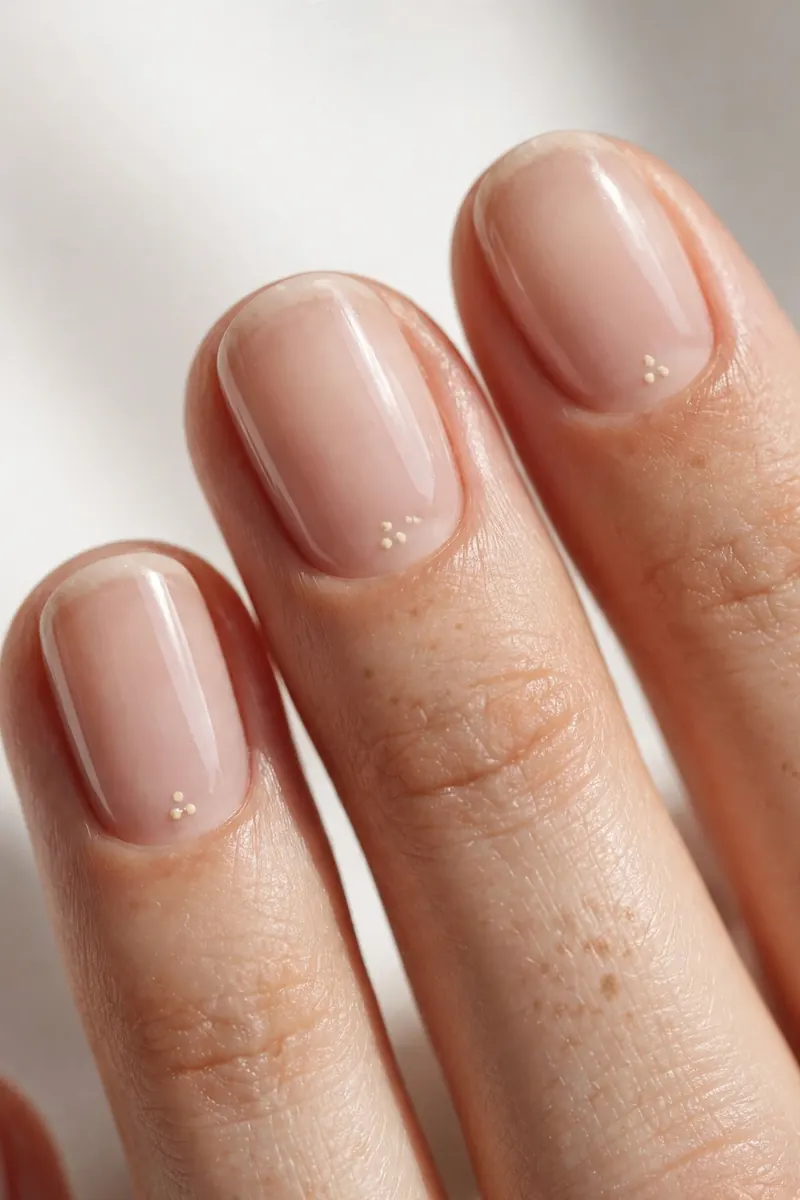
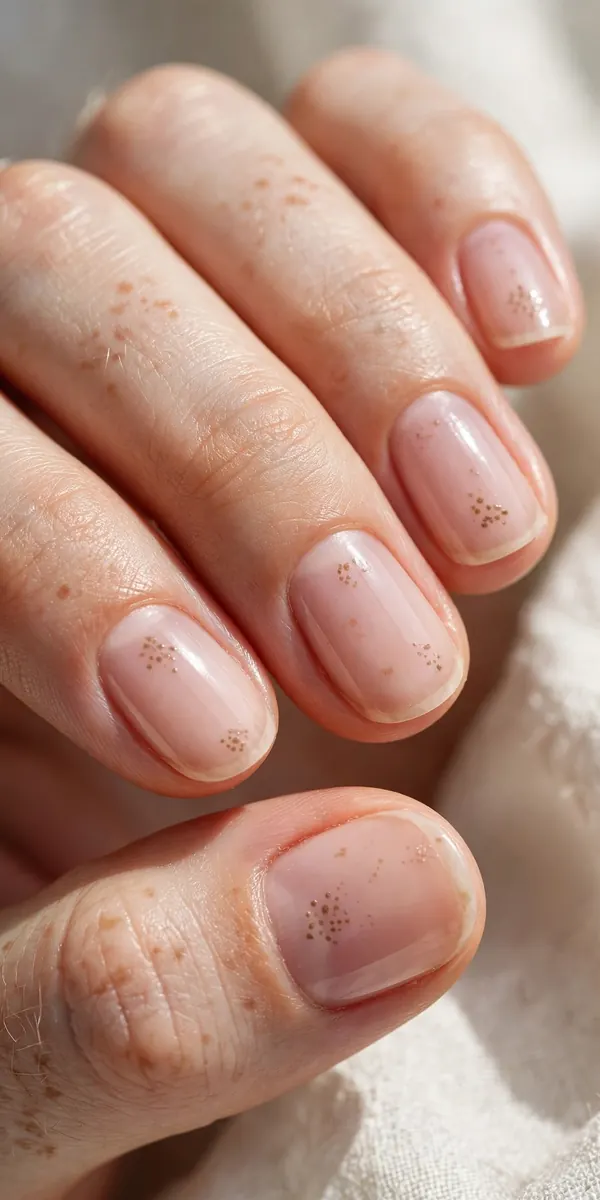
For the “naked nails” girls who still want in on the trend, this one’s for you. A sheer nude base with just three or four tiny spots per nail, placed sparingly near the cuticle. It reads as barely-there from a distance but rewards a closer look. Pair it with immaculate cuticle work and a glass-like top coat — minimal Bambi nail designs only work when the prep is flawless. A ridge-filling base coat is essential here — on sheer bases every ridge shows.
7. Burgundy and Bambi Mix
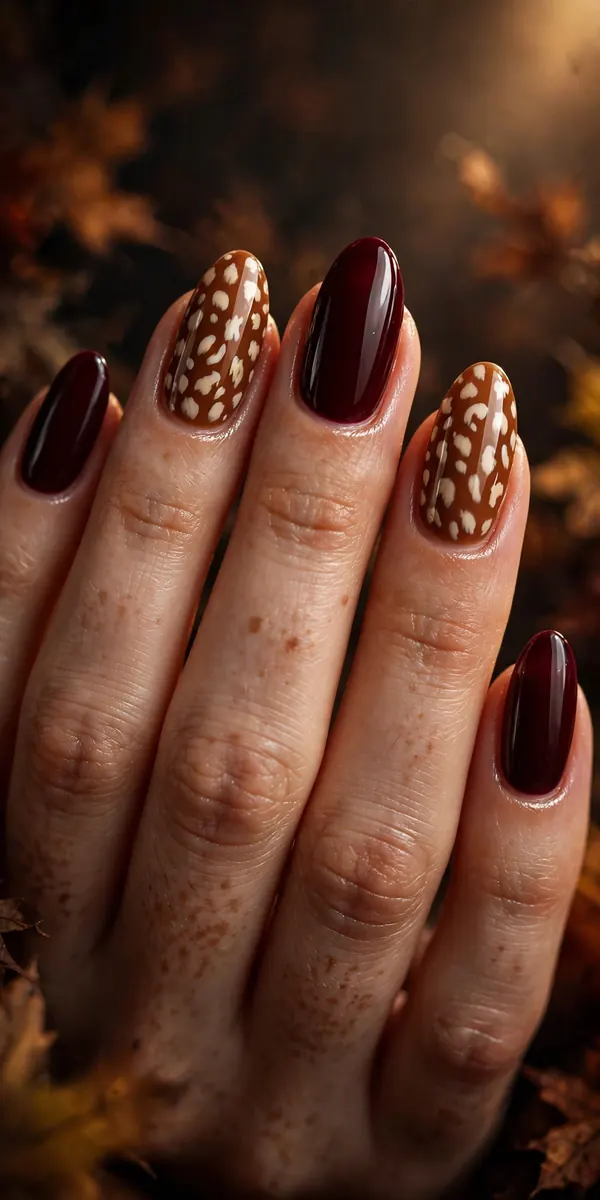
Oxblood and burgundy are dominating every fall 2026 color forecast, so naturally they had to meet Bambi print. Alternate nails: deep glossy burgundy on some, caramel Bambi on others. The rich wine tones harmonize beautifully with the warm fawn palette. Try DND’s “Burgundy” or Olive & June’s “Obsession” for that perfect wine-stained depth. Paint the burgundy nails first and let them dry fully — dark shades drag easily, and one smudge means redoing the hand.
8. Tortoiseshell Meets Bambi
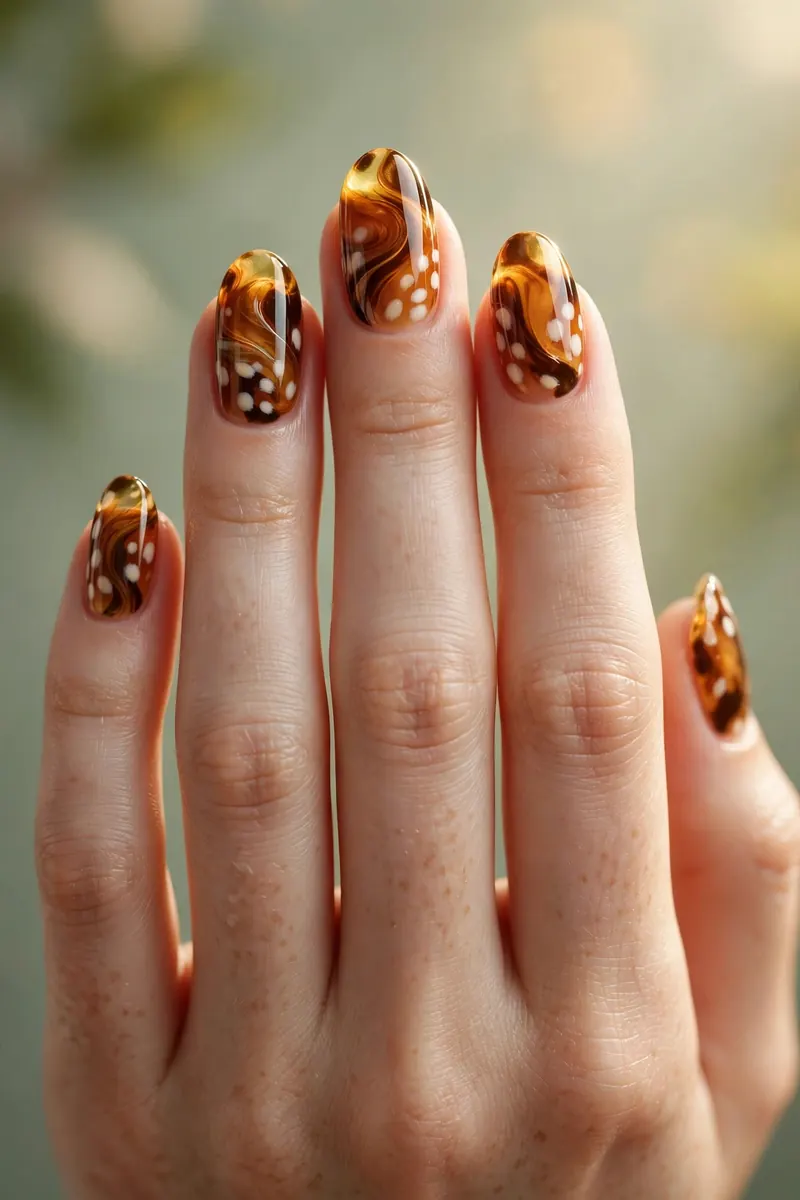
Two of the season’s biggest prints, one manicure. Tortie nails — those swirly amber-and-brown translucent layers — make the perfect base for cream Bambi spots. The mottled background gives the spots extra depth, almost like sunlight filtering through forest leaves. This is an advanced technique, so it’s best left to a skilled tech, but the result is genuinely art-gallery worthy. Ask for the tortie base in sheer jelly layers — the translucency gives tortoiseshell its depth; opaque layers look flat under spots.
9. Matte Mocha Bambi
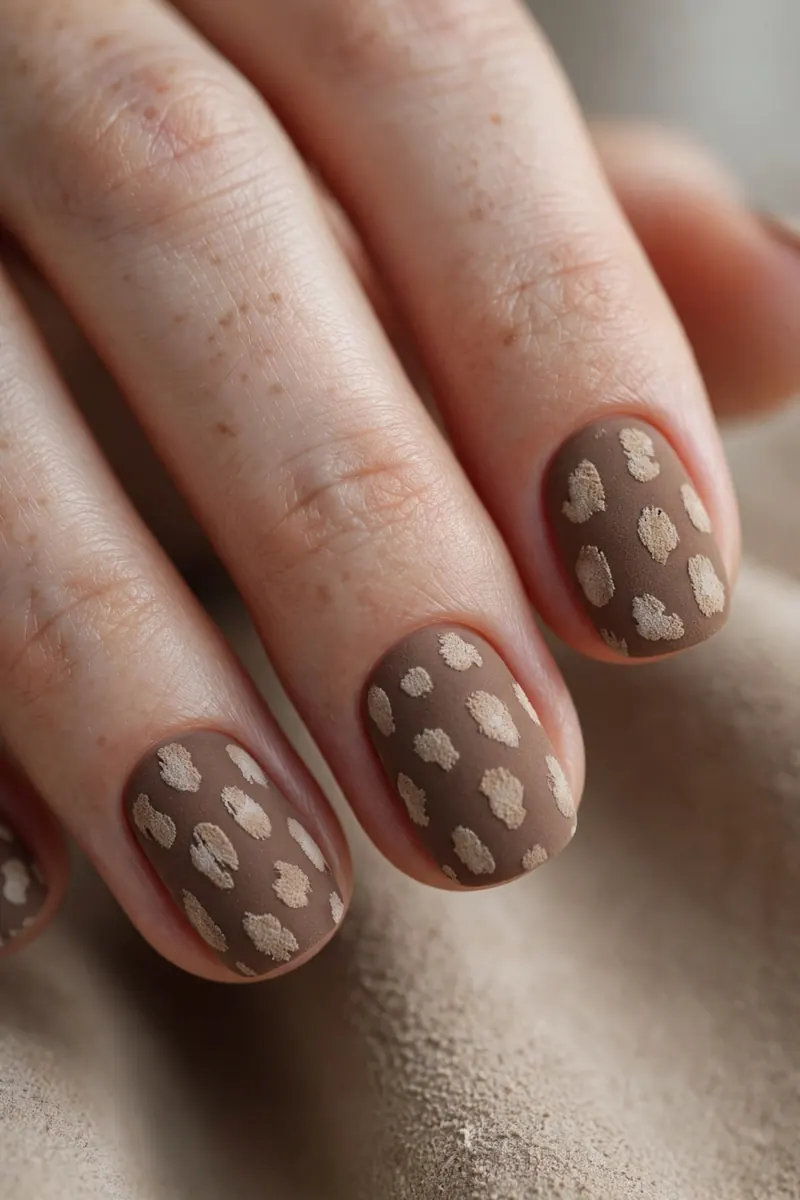
Glossy gets all the attention, but matte Bambi nails have this soft, suede-like quality that’s made for fall. Use a mocha brown base with a matte top coat, then add your spots in a slightly lighter matte beige. The absence of shine makes the design look modern and editorial. Pro tip: matte shows every imperfection, so do your cleanest work on the base before you start spotting. Reapply matte top coat every three days — matte absorbs skin oils and turns patchy at the tips.
10. Gold-Flecked Woodland Bambi
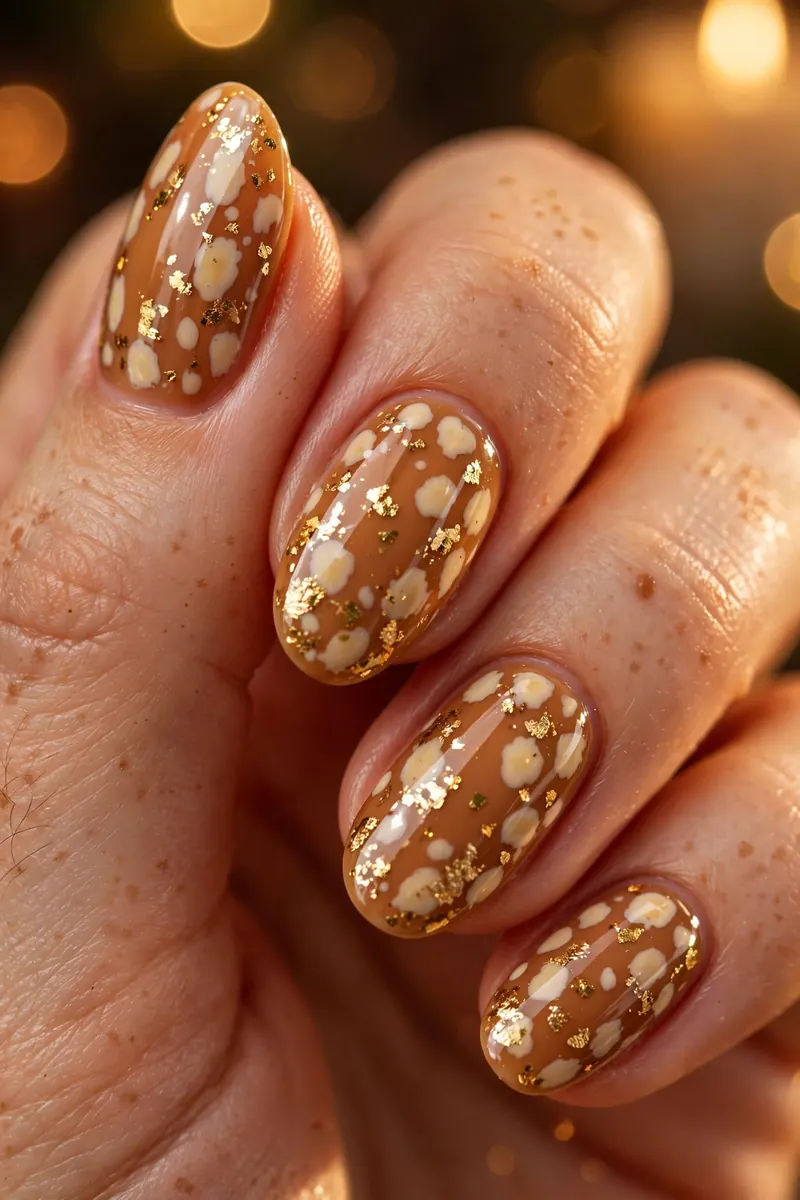
Heading to a holiday party? Dress up your Bambi nail designs with tiny gold foil flecks scattered between the spots. The metallic accents catch the light and take the woodland vibe straight into festive territory. Keep the base in warm caramel and use real gold leaf pieces — not glitter — for that expensive, irregular shimmer. Seal with two coats of glossy top coat so the foil sits perfectly flat. Place the leaf with tweezers while the base is tacky — once dry, foil won’t adhere and lifts under the top coat.
11. Icy Blue Bambi
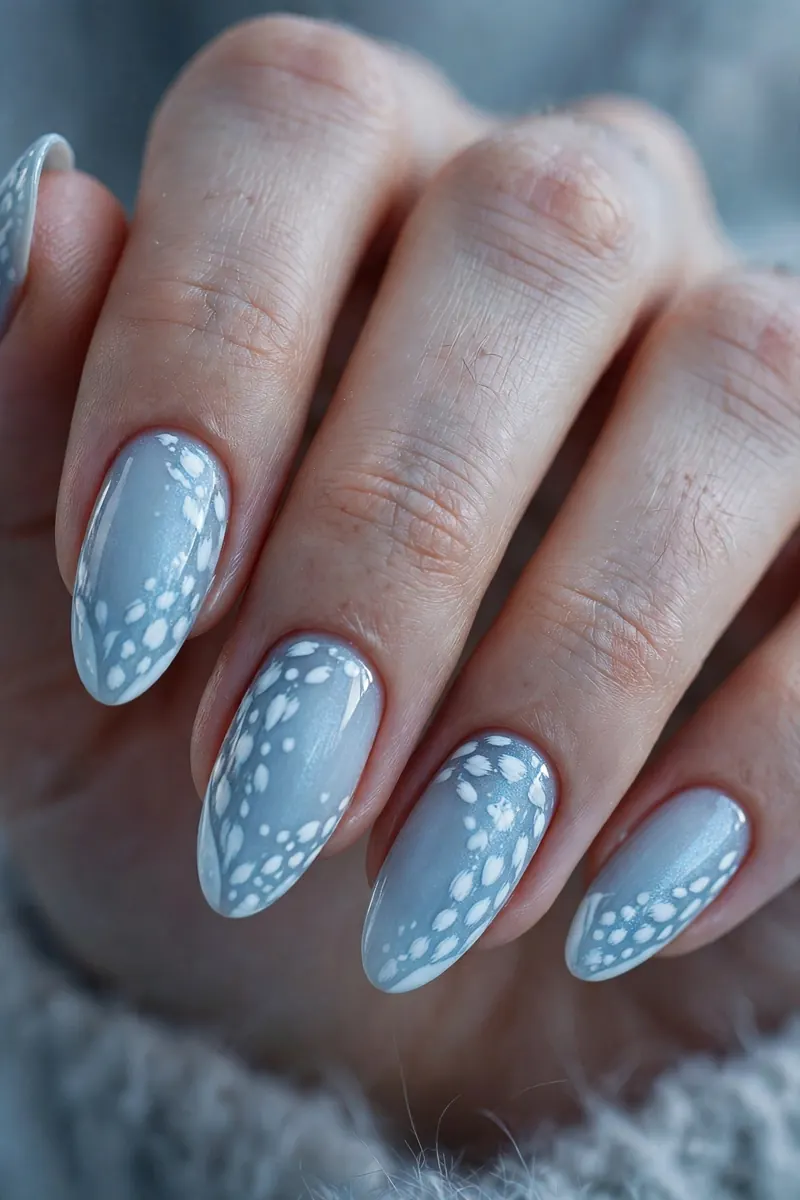
Who says Bambi print has to be brown? A frosty, icy-blue take on the trend is blowing up as we head toward winter. Use a pale blue-grey base — think Essie’s “Bikini So Teeny” gone cold — with crisp white spots. It’s unexpected, it’s cool-toned, and it bridges the gap between fall’s warmth and winter’s chill. This version looks especially striking on almond-shaped nails. Style-wise, it pairs beautifully with silver jewelry — warm gold can clash with the frosty palette, so consider swapping your rings for the season.
12. Micro-Bambi Detail
The most delicate version of all: a sheer pink-nude base with teeny-tiny spots done with the very tip of a toothpick. Each nail gets maybe five micro-dots, clustered like freckles. It’s the “no-manicure manicure” of the Bambi world — barely there, totally chic, and it grows out gracefully since there’s no harsh line at the cuticle. Perfect if you need your nails to last three weeks between appointments. Use a thin-formula polish for the dots — thick crème blobs instead of dotting, ruining the freckle effect.
How Long Do Bambi Nails Last? Maintenance Tips
With gel, Bambi nail designs easily last two to three weeks — the spotted pattern hides tip wear and grow-out far better than solid color. Regular-polish versions hold up seven to ten days if you cap the free edge and reapply top coat midweek. For touch-ups, keep your cream spot polish handy: one fresh dot over a chipped spot blends invisibly. At removal time, soak gel sets in acetone for 10–15 minutes rather than peeling, which thins the natural nail for weeks. Between sets, massage cuticle oil into the nail beds nightly — hydrated cuticles prevent the lifting that shortens wear.
How to Do Bambi Nails at Home
Good news: Bambi nail designs are one of the easiest trending looks to DIY, because imperfect spots actually look better. You don’t need nail-art skills — you need a dotting tool and a little patience.
What You’ll Need
A warm-toned base polish (caramel, toffee, or milky nude), a cream or off-white polish for the spots, a dotting tool with two sizes (a bobby pin works in a pinch), and a glossy top coat. If you’re using regular polish, keep a small brush dipped in acetone nearby for cleanup around the cuticles.
The Technique
Apply two coats of your base color and let it dry completely — this is non-negotiable, since wet base polish will drag when you add spots. Dip the larger end of your dotting tool in the cream polish, wipe off the excess, and press dots of varying sizes onto each nail. Cluster a few together, leave some space elsewhere. Then go back with the smaller end and add tiny satellite dots around the big ones. Real fawn markings are irregular, so resist the urge to make everything even. Seal with top coat and clean up the edges for that salon-fresh finish.
Best Nail Shapes for Bambi Print
Short square and squoval shapes show off the spots beautifully and keep the look modern. Almond works too, especially for the icier color variations. What to avoid: very long stiletto nails can make the print look busy rather than cute. And whatever shape you choose, keep the length practical — Bambi nails are a cozy-season look, made for wrapping your hands around a warm mug.
The beauty of Bambi nail designs is how forgiving they are. Spots don’t need to be perfect — in fact, they shouldn’t be. Grab a dotting tool (or a bobby pin in a pinch), pick your favorite warm-toned polishes, and embrace the imperfection. That’s the whole point: nature doesn’t do symmetry, and neither should your manicure.